This was one of my long term projects that I have nearly completed. I have always wanted to play a solo version of Rorke's Drift, having watched the film Zulu for about a hundred times but have never got around to it. So to keep myself on track. I promised Jose at my wargames club, just before Christmas, that we would play Rorke's Drift during the Christmas break. I had seen the board map of Rorkes Drift on the internet, for the game "Zulu on the ramparts" which I liked the look of and it also acted as my incentive.

The buildings I had already in 15mm, seemed to small, so I decided to scratch build them myself, also the 20 seperate section ramparts and oh yes, the redoubt. No problem, I have over 2 weeks off work, I optimistically thought. My British units were already based on larger bases and did not look right, so I had to rebase them as well. I based the rules loosely on Crossfire but with IGOUGO 5 minute turns . I built the buildings out of MDF and used clay to make the thatched roofs. The Barricades were made from a type of seed, I think called "legumbres" which had to be glued individually and then painted. I just managed to finish building and painting everything ready for the day. Unfortunately I wasn't able to playtest the rules, so when the day came to play It was alright, but the moves were a bit slow and repetitive and due to time constraints we weren't able to finish it in one night.
I went back to the drawing board with the rules because I wanted game that could be played solo in around 3 hours. I reread Crossfire and decided variable turns depending on losing the initiative was called for. To measure the time of each turn, I simply threw a D6 and when it was daytime multiplied the result by five minutes and when it was night by 10 minutes. I played it again solo and it took about 3 1/2 hours although the outpost was massacred just after night fell.
Last Saturday was the anniversary of the Battle, and luck would have it, the better half, was going out with some friends for work for a leaving party. I had changed the rules concerning the "volley fire" and "fire at will" and also introduced 3 more individual characters. Pvt Dunbar who was not actually in the film but was a sharpshooter, Corporal Schiess of the Natal Mounted Police known for his close combat skills and Lt Adendorf to help with volley fire.
The Game 23rd January 2011

View of the table from the North side the Zulus are split into 4 forces of 12 units each making up the classic bull head attack formation. The left horn is in the foreground
 View from the south side with the loins and the right horn.
 The British garrison ready for action. Cpl Schiess on the far left, in the background Pvt Hook and his section are entering the Hospital.
 The chest preparing themselves to attack.
 The Zulu rifles taking position on the Oskarberg to fire into the outpost. They pin down Cpl Lyons Section on the south wall.
4.30pm The first attack starts with the Chest using nine Units. The hospital and south wall fire at long range with some good shooting they pin 1 unit and kill another. But now with throwing to many sixes with "fire at will" Sgt Smith's section is now low on ammo. Six Zulu Units reach medium range. The British use volley fire and this causes the rest of the Zulus to halt and go to ground. Commisary Dalton moves to Cpl Lyons section and replenishes their ammo. Cpl Lyon tries to rally his section but fails to remove the pin.

4.50 p.m The pinned Zulus and the Zulus on the mountain, fire at the south wall without much success. Now the Loins attack with all of their 12 Units.
 The South wall and the storehouse both use "Fire at will" and through good shooting both run low on ammo. 2 Zulu Units make it to short range and rush the barricades.
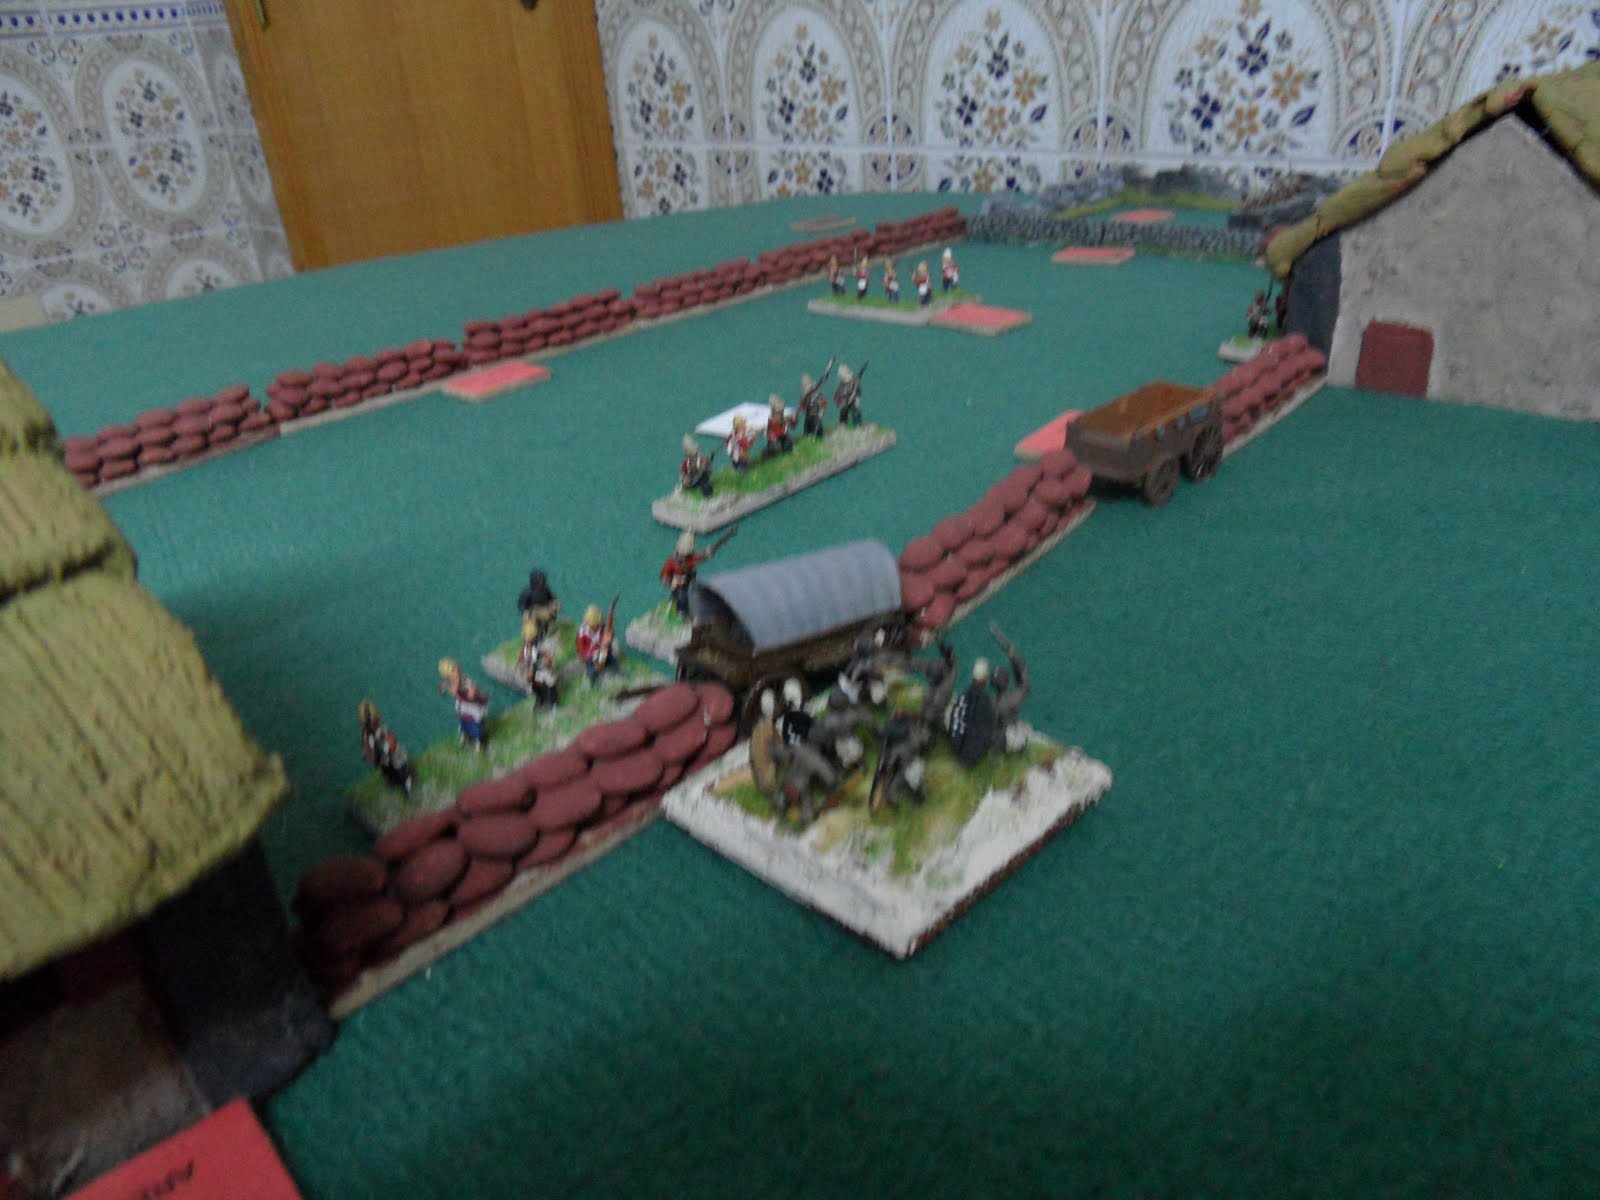 Dismal firing only kills 1 unit and the other makes it to close combat with Cpl Lyons section. Lyons section who are already pinned, get pushed back. But Lt Chard and Sgt Smith section manage to kill the Zulus. Comm Dalton replenishes the ammo again but Lt Chard fails to rally Lyons section, which have refused to return to the barricades.
5.15 p.m A "rest counter" is removed from the bag meaning their is a lull in the fighting, whilst the Zulu leaders assess the strength of the Outpost. Some of the Zulus from the Chest and Loins who were pinned or suppressed, rally and fall back out of range to their comrades.
 5.30pm Lt Bromhead and his section finish building the inner barricade. Now the left horn attacks the North wall.
 British fire is pretty poor and five Zulu units reach the barricade
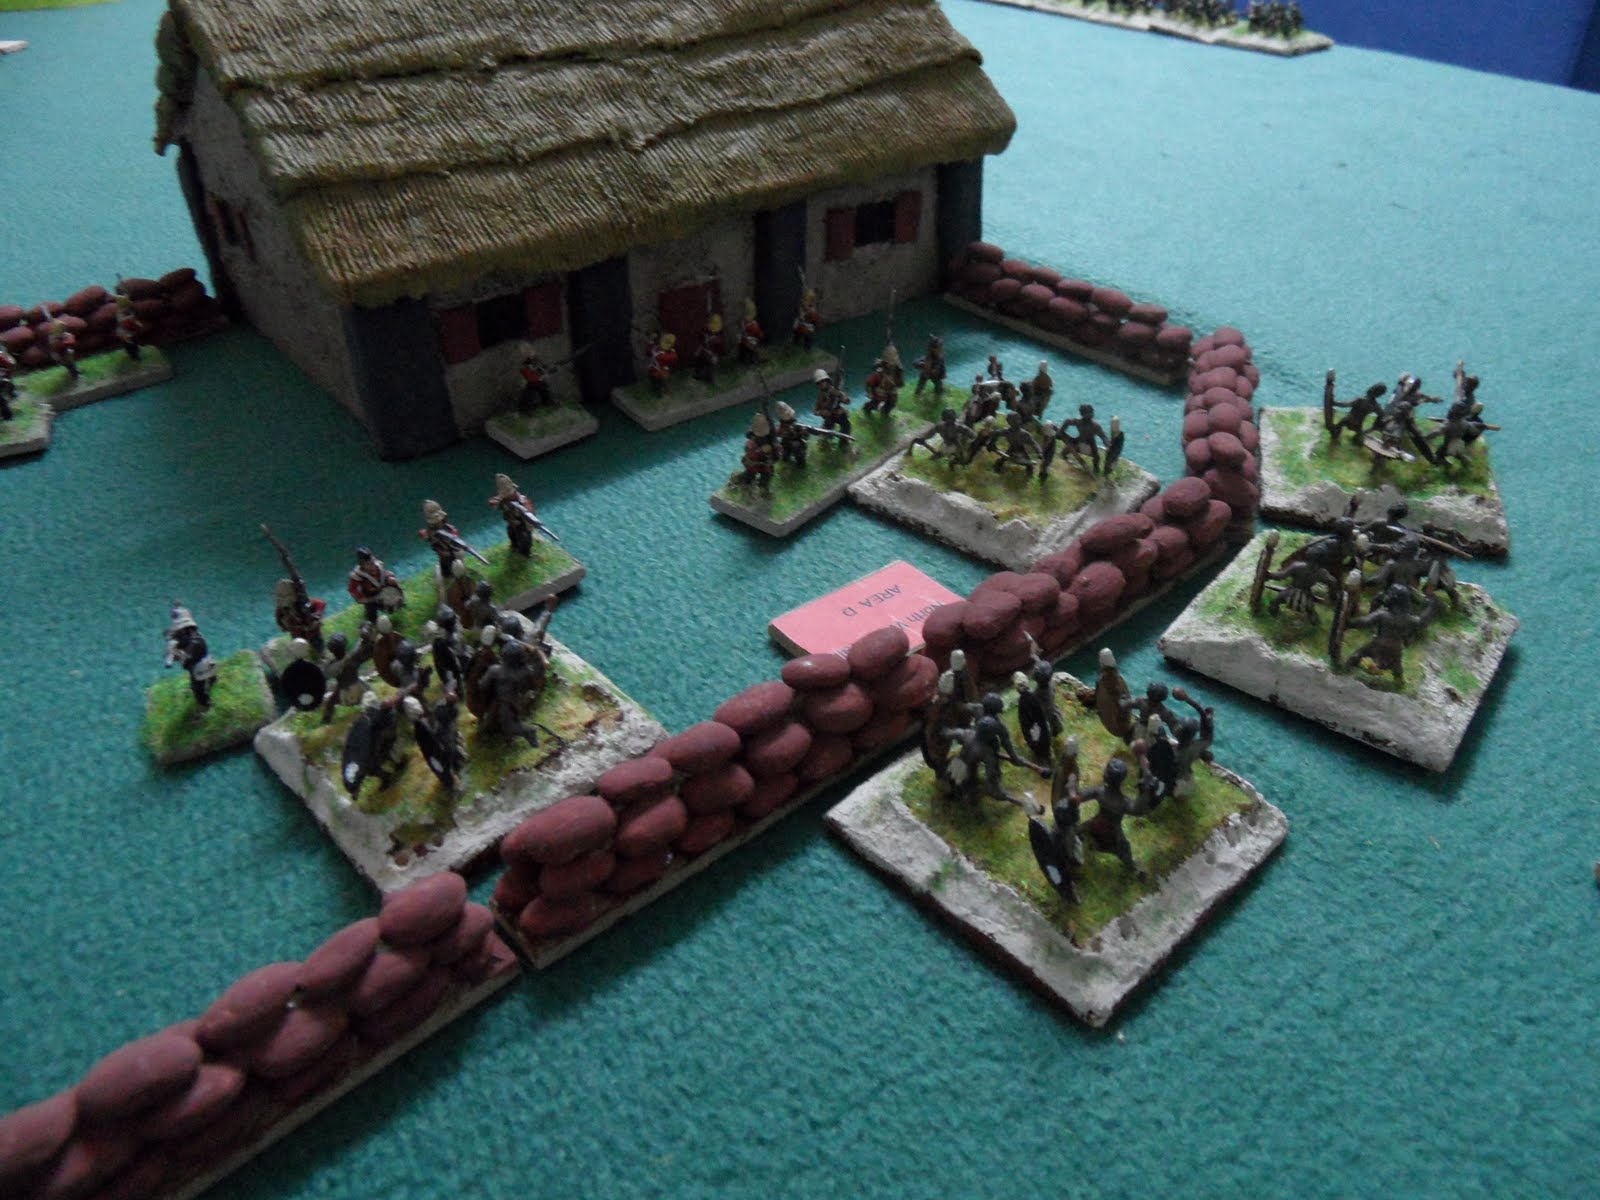 They manage to push back both Cpl Allen's and French's Section and invade the courtyard.
 The Zulus kill both sections of men and Cpl Schiess, although Lt Adendorf manages to kill 1 Zulu unit before being killed as well.
 Lt Chard and Sgt Gallagher's section fire into the rampaging Zulus and kill two units, the other two Zulu units attack Chard and Cpl Lyons section.
In a savage struggle Cpl Lyons Section including Pvt Dunbar is killed. Leaving Lt Chard on his own against 1 Zulu unit. Chard fights back and kills the Zulus. Lt chard is now in a dilema, with only one section left in the main courtyard he decides to pull back behind the inner barricades. Hook and his friends are now stranded in the hospital. Major Surgeon Reynolds is busy in the storehouse trying to patch up the wounded from all the fighting just taken place. He only manages to save 1 section worth of wounded man to go back into the fight.
 5.50pm The Chest attacks again with six units, only the men in the hospital may fire and they are low in ammo. They use their remaining bullets well, pinning one unit and supressing two others but then run out of ammo. Hook and Sgt Windridge section kill two Zulu units but the others break in and start a fire on the Hospital's straw roof. Pvt Hook and Sgt Windridge's section manage to push the Zulus back out of the Hospital and kill the rest.
Lt Chard pulls Lt Bromhead and his section from the wall to start building the redoubt. Pvt Hook and Sgt Windridge's Section, with the Hospital on fire decide to make a run for it to the inner barricades. As they are crossing the courtyard they get pinned by Zulu rifle fire, halfway over and are stuck in no mans land.
 6.05 p.m Now the loins attack, but firing from the store house and the Kraal from a section under Colour Sgt Bourne stops the attack at medium range.
 6.10 Only five minutes pass and the Zulu leaders sensing victory, attack from all sides. Zulu rifle suppress Sgt Windridge's section in the main courtyard. The Zulus come pouring into the mainyard slaughtering Sgt Windridge's Section and Pvt Hook, who cant fire back because they have been supressed by Zulu rifle fire.
Lt Chard on the inner barricades fires at the Zulus but still five Zulu units make it to the barricades.
 Both sections have to retreat , and the wounded section is killed. Chards section fought back, he had two options, man the inner barricade, or form up with Lt Bromheads section and volley fire. He decided the latter. The deadly volleys at close range killed all but two Zulu Units. Meanwhile Colour Sgt Borne's section in the kraal was having more success killing six Zulu units.
 In the inner barricade, both sections and Lt Bromhead were killed. Lt Chard again won the next melee and decided to retreat into the storehouse with Comm Dalton.
 With the help from the defenders of the store house, they kill the last Zulu unit trying to gain entry.
 6.25 p.m The chest attacks, they jump over the now unprotected ramparts to attack the storehouse. Five Zulu stands are killed at point blank range, but five more remain but they are beaten away by the defenders in the storehouse.
 6.50 p.m The chest renews it attack and this time Sgt William's section in the storehouse is beaten back and Zulus enter killing everbody inside including Lt Chard, they also set the building on fire.
 The Zulus attack the men in the kraal, the British fire but its no use. the Zulus break into the Kraal and Cpl key's Section are killed.
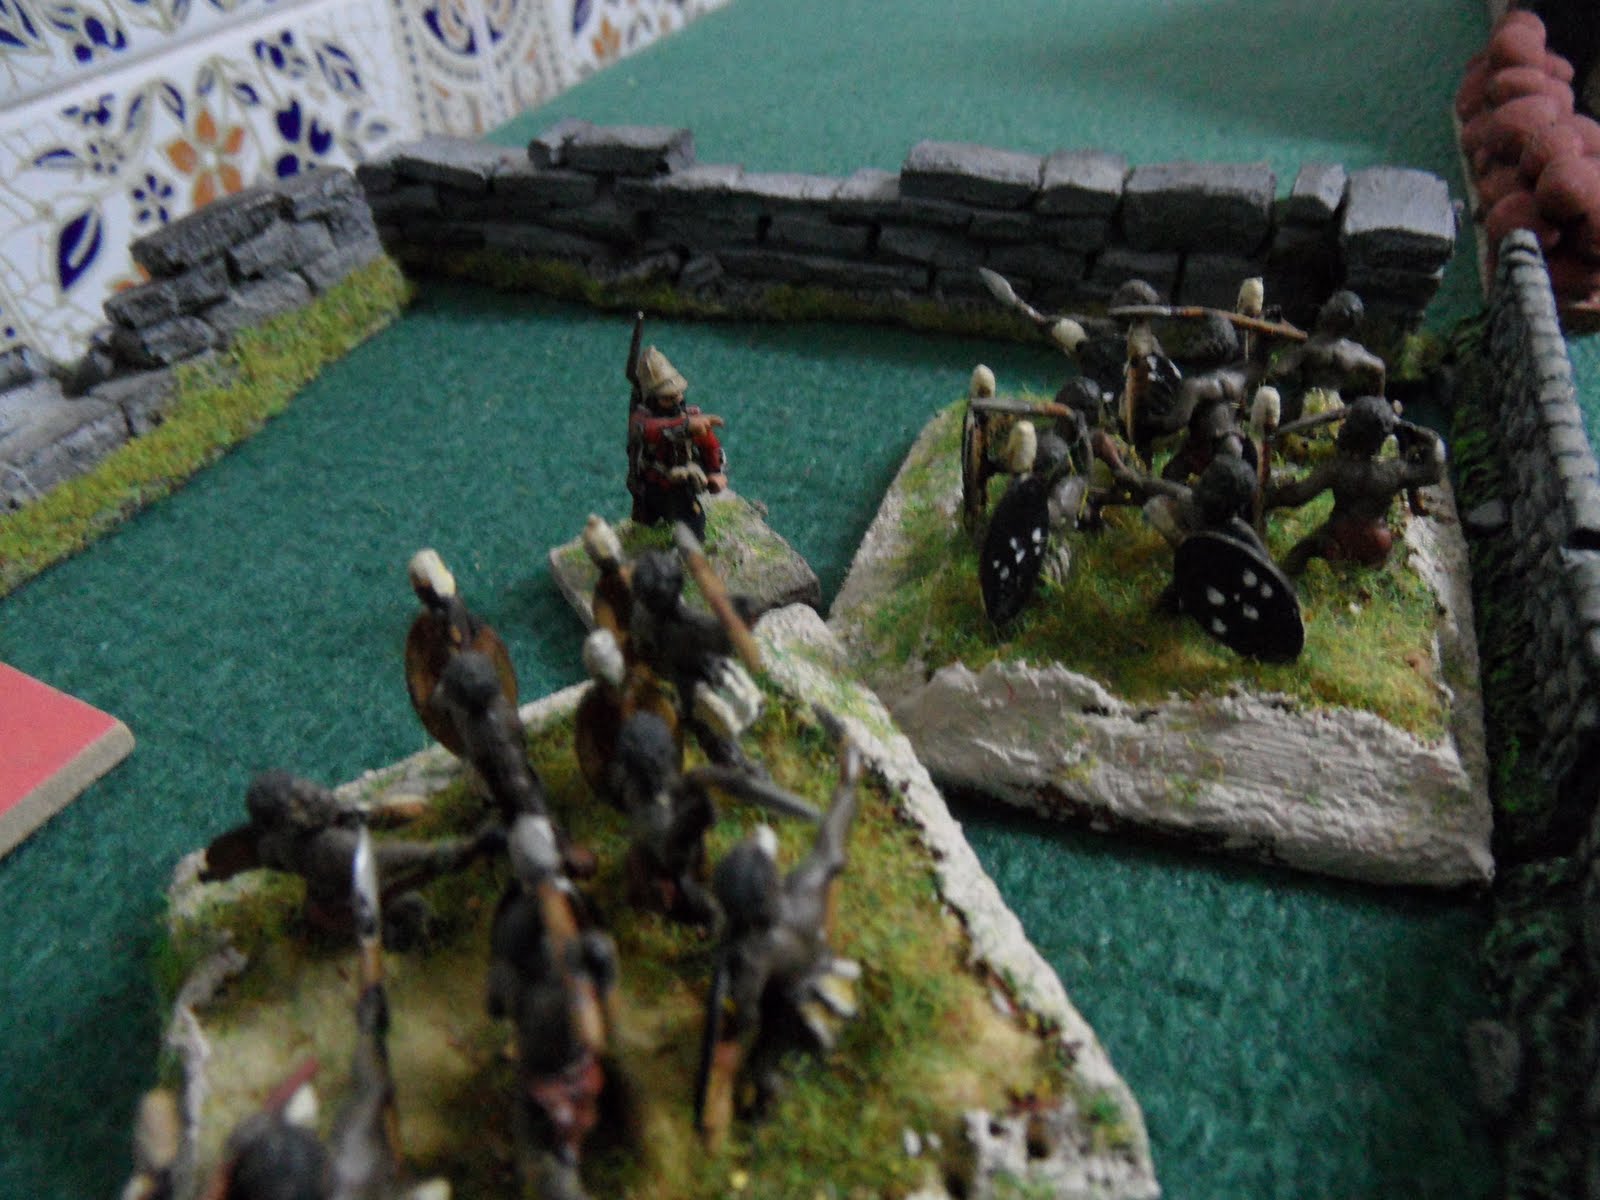 7.05 p.m Just as night falls so does the last man, Colour Sgt Bourne and the Garrison of Rorkes Drift are slain.
In conclusion this was a very enjoyable game, although the aim is to see if I can make the British survive until the reinforcements arrive in the morning. The rules just need a few little adjustments and then hopefully it will give a very good game. I am also adapting the rules for another favourite battle of mine, Battle of the Little Bighorn. At least I wont have to make buildings and sandbags for that one.


